A Little bit of Vintage Love...
For Your Shoes!
I have heaps of left over lace bits of late that are not quite big enough for much at all really. So what to do with them all? When I saw a couple of little pairs of cheap ($2 a pair) canvas sand shoes recently I had a light bulb moment!....Bing....
So, I'll attempt to take you through a pictorial Tutorial so you can see my attempts at bringing an idea to life, some successful and some not so! This is how my light bulb moment came into being.
 |
| 1. Take one pair of cheap canvas shoes. These ones were $2 on sale at Kmart |
|
|
|
|
|
|
|
|
|
|
|
|
|
|
|
|
|
|
|
|
|
|
|
|
|
|
|
|
|
|
|
|
|
|
|
|
|
|
|
|
|
|
|
|
|
|
|
|
|
|
|
|
|
|
|
|
|
|
|
|
|
|
|
|
|
|
|
|
|
|
|
|
|
|
|
|
|
|
|
|
|
|
|
|
|
|
|
|
|
|
|
|
|
|
|
|
|
|
|
|
|
|
|
 |
| 2. Grab your scrap pieces of lace . I also have used some scrapbooking card stock underneath the lace, you will see why in a minute. |
|
|
|
|
|
|
|
|
|
|
|
|
|
|
|
|
|
|
|
|
|
|
|
|
|
|
|
|
|
|
|
|
|
|
|
|
|
|
|
|
|
|
|
|
|
|
|
|
|
|
|
|
|
|
|
|
|
|
|
|
|
|
|
|
|
|
|
|
|
|
|
|
|
|
|
|
|
|
|
|
|
|
|
|
|
|
|
|
|
|
|
|
|
|
|
|
|
|
|
|
|
|
|
|
|
|
|
|
|
|
|
|
|
|
|
|
|
|
|
|
|
|
 |
| 3. Start spraying. I have used glimmer mist from tattered angels, but It would be a better idea to use fabric dye solution and put it into a little spray bottle. (or an empty glimmer mist bottle) |
 |
| And some pink and any other colour you like. Then once you have coloured all of your lace you will have a lovely assortment of pretty coloured lace to use like this... | |
|
|
 |
| 4. What I ended up with was a bit of a of a stencilled effect on the card stock to used for Christmas tags or a scrapbook page. Each lace cotton or nylon had a different affect. I thought I would try this on the canvas shoes! How amazing would that look! Well in my head it would look amazing anyway. |
 |
| This was my favourite one! | | |
|
 |
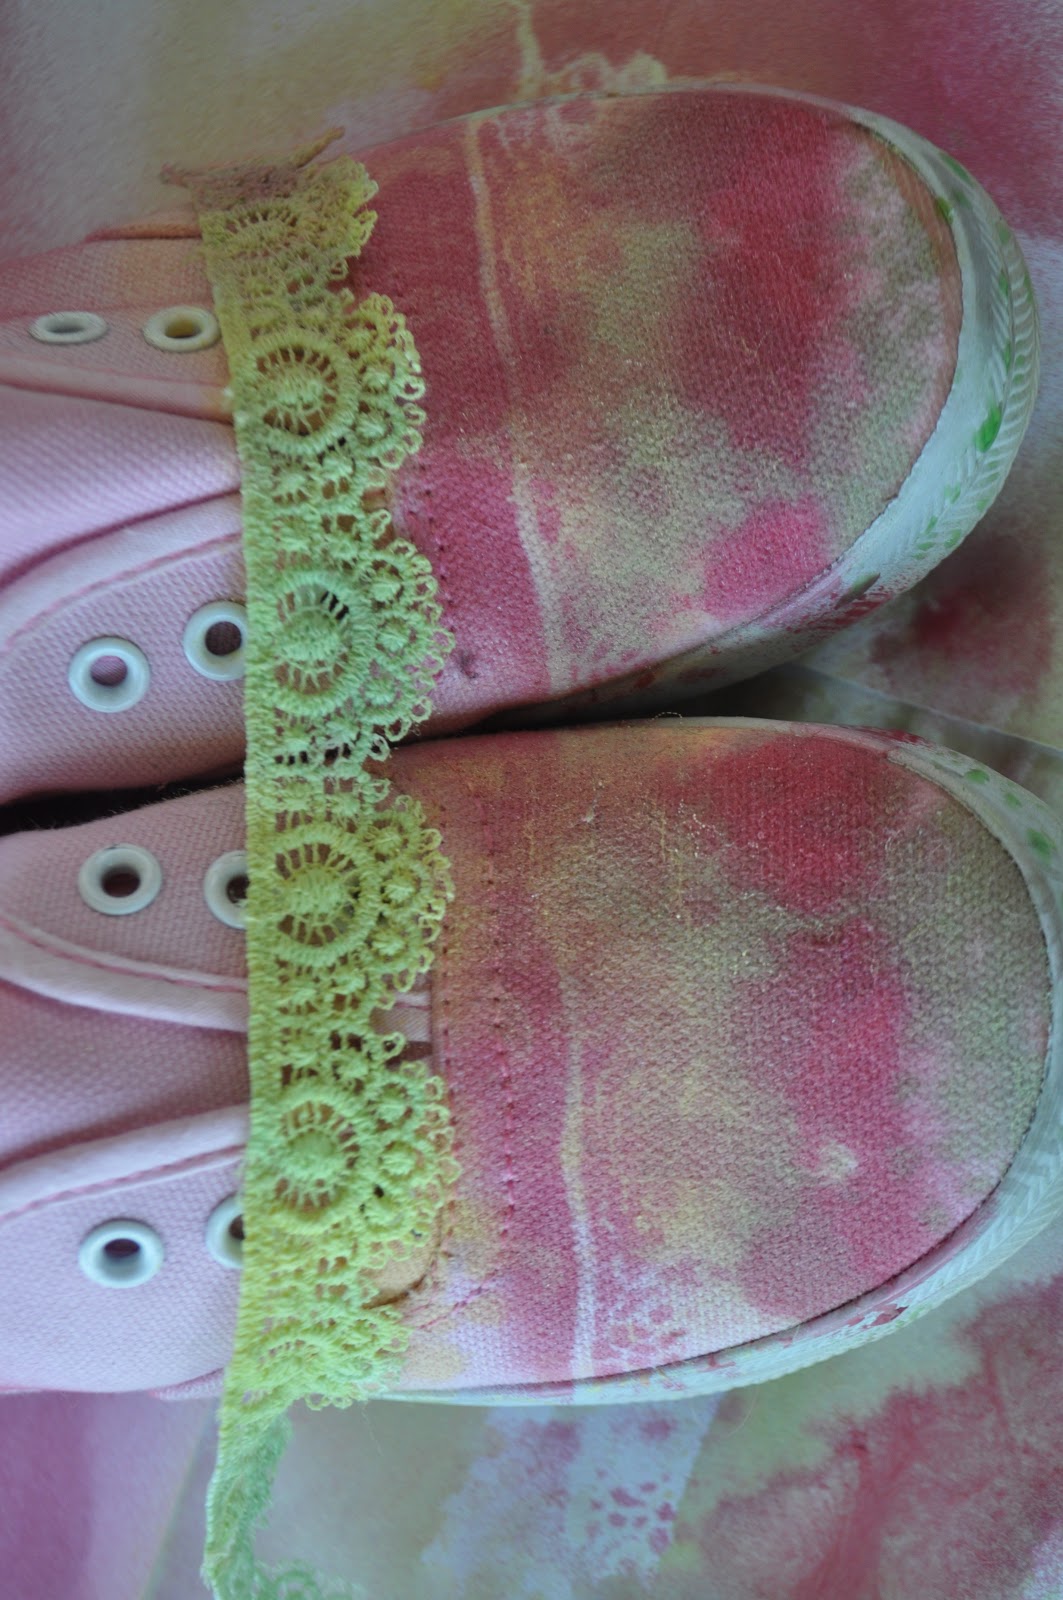
| 5. So once again using the lace as a stencil I placed it on the shoe and spritzed away with the glimmer mist. |
 |
| So far so good... |
|
 |
| Away I went, spritzing some more. I had in mind that I would layer each of the laces making a different coloured layer each time. What I didn't do was let each layer dry before adding the next one. It would probably be a good idea to let it dry. Woops! |
 |
| The effect did not work out the way I thought it would. |
 |
| As you can see it didn't really work out as well as the doily on the side. Oh well, into the washing machine for these little shoes and on to plan B! |
 |
| PLAN B- I Still had all that pretty coloured lace, so I add some glue to the shoes. ( Glue that stick fabric and is a little bit flexible when set would work best- not the glue that I used!) |
 |
| Stick on the lace then carefully trim the lace close to the top edge of the rubber |
 |
| Adding the next layer... |
 |
| And then the next. You might need to hold the lace in place until it sets so those little edges stay down! Overall I'm pretty happy with the end result but more importantly so is miss 4 yo! And what to do with the cut offs, well... |
 |
| Make a Christmas tree of course! complete with a 'little bit of vintage" button at the top. It is almost here you know! This lace Christmas tree idea can be used on cards, a scrapbook page or on a canvas why you could probably even glue it to card stock of the same shape to hang on your Christmas tree. Don't forget to make something crafty with your negative prints that you created when spraying. Some ideas once again for that is Cards, wrapping paper, gift tags and scrapbook pages. So there it is using scraps of scraps to create something a little bit vintage and a whole lots pretty. Would love to hear about what you come up with if you give this little project a go. xx R |