www.myrtleandgrace.blogspot.com


Showing posts with label DIY. Show all posts

Monday, December 5, 2011

i HEART decorating the Christmas tree

Decorating the tree HANDMADE style.

We have had a little set back or two today while decorating the tree! You know how you get an idea and you just can't get what you need locally to get the job done? Well I really wanted just red lights on the tree this year and do you think I could find them anywhere! They are now on there way from Sydney thanks to Mr. EBay. 

You've already had a little peek at the felt doves we had been making and with 6 now done and one more to finish off that's one job nearly out of the way. Miss Emily and I spent some of the morning cutting out snowflakes from the pages of an old vintage book we found a the local secondhand store. Emily had said her favourite bit was unfolding the snowflake because it was exciting- like unwrapping a present, just don't know what you are going to get! Bless her little cotton socks. 

Decoration number three was even easier again. Using the same book we ran the pages through the printer with words and phrases such as "Merry Christmas", "Jingle Bells" "JOY" and images like our love heart onto them and simply tied them onto the tree with red ribbon. I love the effect. But as we were busy finishing off the paper side of the decorations minor disaster struck. Our Feed bin filled with tree, gravel and A LOT of water, sprung a leak!  There's a hole in the bucket, dear Liza, dear Liza! There is not much I can do at the moment except keep on mopping up water until it has drained out enough for me to be able to budge it. I can barely lift the tree on it's own as it is. Let alone with 3 buckets of gravel and 20 litres of water too. So here are the pictures of what we have done so far...
Home printed vintage messages in "Stencil" and "Claudia Jean" Font
In this picture hand cut snow flake vintage messages prints no. 15 advent rusty bucket, felt dove

"No. 15" advent calendar rusty bucket from The Upholstery Gallery- Ballarat

Hand cut snowflake from vintage book. Little Felt Bird hand stitched in the background.

Home printed message on vintage book page. "Heart"

Hand cut snowflake again.

This is as far as we got before the leak won!

Friday, November 25, 2011

The Impromtu photo shoot

We decided it would be a great idea to take some more photo's of stock today. I tried out my new white background. Which now has a few new dints and creases in it thanks to the kids, but I guess that was bound to happen sooner or later. Slowly my photography skills are growing and I was really happy with how these ones turned out. Hope you like them too! All the details for these items can be found over on the Facebook page, just click on the little Facebook badge to the right ------over there---------> and it should take you straight there!


This little model kept running off


Then didn't like the idea of sister helping so the biting started Ouch!

And then HE decided he'd had enough of wearing a dress and had a tanty! LOL I bet you were thinking the little model was so pretty in the dress too?

This co operated for quite a while


I am proud of how this photo shoot turned out.

Wednesday, November 16, 2011

Add a Little Bit of Vintage Love to Your Shoes! - A Tutorial


A Little bit of Vintage Love...

For Your Shoes!

I have heaps of left over lace bits of late that are not quite big enough for much at all really. So what to do with them all? When I saw a couple of little pairs of cheap ($2 a pair) canvas sand shoes recently I had a light bulb moment!....Bing....

So, I'll attempt to take you through a pictorial Tutorial so you can see my attempts at bringing an idea to life, some successful and some not so! This is how my light bulb moment came into being.
1. Take one pair of cheap canvas shoes. These ones were $2 on sale at Kmart


2. Grab your scrap pieces of lace . I also have used some scrapbooking card stock underneath the lace, you will see why in a minute.


3. Start spraying. I have used glimmer mist from tattered angels, but It would be a better idea to use fabric dye solution and put it into a little spray bottle. (or an empty glimmer mist bottle)

And some pink and any other colour you like. Then once you have coloured all of your lace you will have a lovely assortment of pretty coloured lace to use like this...


4. What I ended up with was a bit of a of a stencilled effect on the card stock to used for Christmas tags or a scrapbook page. Each lace cotton or nylon had a different affect. I thought I would try this on the canvas shoes! How amazing would that look! Well in my head it would look amazing anyway.


This was my favourite one!
5. So once again using the lace as a stencil I placed it on the shoe and spritzed away with the glimmer mist.

So far so good...
Away I went, spritzing some more. I had in mind that I would layer each of the laces making a different coloured layer each time. What I didn't do was let each layer dry before adding the next one. It would probably be a good idea to let it dry.  Woops!

The effect did not work out the way I thought it would.

As you can see it didn't really work out as well as the doily on the side. Oh well, into the washing machine for these little shoes and on to plan B!
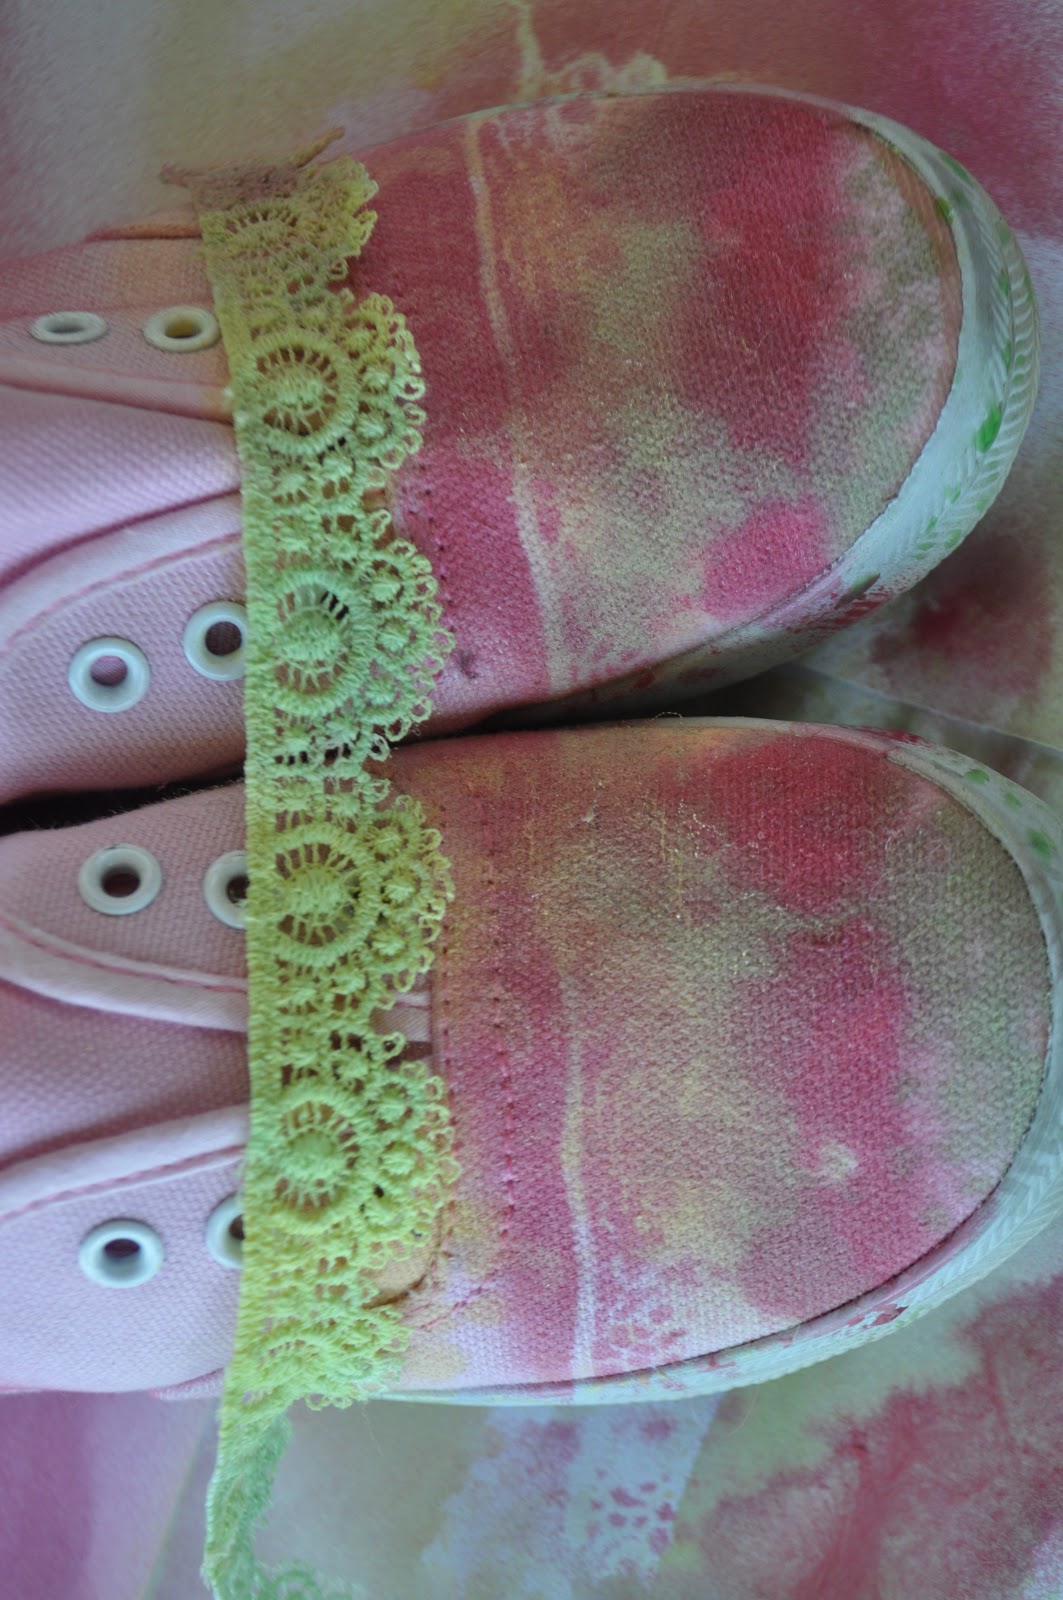
PLAN B- I Still had all that pretty coloured lace, so I add some glue to the shoes. ( Glue that stick fabric and is a little bit flexible when set would work best- not the glue that I used!)
Stick on the lace then carefully trim the lace close to the top edge of the rubber
Adding the next layer...

And then the next. You might need to hold the lace in place until it sets so those little edges stay down! Overall I'm pretty happy with the end result but more importantly so is miss 4 yo! And what to do with the cut offs, well...
Make a Christmas tree of course! complete with a 'little bit of vintage" button at the top.  It is almost here you know! This lace Christmas tree idea can be used on cards, a scrapbook page or on a canvas why you could probably even glue it to card stock of the same shape to hang on your Christmas tree. Don't forget to make something  crafty with your negative prints that you created when spraying. Some ideas once again for that is Cards, wrapping paper, gift tags and scrapbook pages.  So there it is using scraps of scraps to create something a little bit vintage and a whole lots pretty. Would love to hear about what you come up with if you give this little project a go. xx R

Sunday, October 23, 2011

My Gorgeous, Crafty, Blogging GURU...

Sharing this AMAZING blog with you all this morning. It's always at the top of my blog reading list, just because she is soooo amazing. Send strength, courage, love and light your way Ashley and the LBB family. xxx
 www.littleblueboo.com

Friday, October 21, 2011

Shout Out Time for...

My Favourite Little Coffee Shop.

When I'm stranded in town in between appointments I can often be found working away in my fave little coffee shop in Ballarat "The Upholstery Gallery" 528 Mair Street, Ballarat. I love it in here!
So eclectic, colourful and friendly. Owner, the lovely Liz Green has put the store though it's paces again and undergone just one more renovation expanding the shop by another third! Making so much more room for coffee tables and scrumptious decorative, textural delights. I just adore that the floor boards are all original sloped and  that there are hidden details around every corner like the original window that was uncovered during renovations and had been walled in for about 40 years and is now an included feature in the new renovation. There are so many great stories the girls could tell you about some of the fixtures here too. Liz's interior decorator eye for detail is just right for my taste, stocking brands such as Jasper Organic Coffee, T2, Mesop, Body, Designed in Brunswick, Cloth. Now if ONLY I could just pick up the whole store and plonk it in my home.  Here are some photo's to tempt and tease you. Open Tuesday to Friday 10am-5 pm and Saturdays 10am- 4pm. Ph: 03 53314192

Ta Daa! The new renovation is open...
 Love the boxes on the wall...
Some of the great looking designed in Brunswick products...


and the rest of the store...

just gorgeous....

Saturday, October 15, 2011

Sew Selfish? A new project just for me.

Is it possible? Oh yes it is!
Phrase: SEW SELFISH
Definition: To sew exclusively for ones own indulgent pleasure when there are so many other tasks to be done.
This is where I introduce my new personal project. You'll need to use your imagination a lttle bit for the start of this introduction, It's BIG! well it's big for me anyway. So with out further due, imaginations in the ON position please, and cue music...

SPACE ODYSSEY THEME begins to roll in building up the atmosphere...

Bom BOM bom BOM bom BOM etc, etc....

I have started a quilt! yes ME!!!! BAM BAAAAAAA....... Music continues

It may seem a little strange that in all these years that I have been sewing I have never, and I mean NEVER attempted a quilt.

THEY SCARE THE CRAP OUT OF ME!

Crazy right? all that sewing of pretty little dresses and I break out in a cold sweat at the thought of the task of putting a quilt together. It's all those little pieces, the absolute accuracy of cutting perfectly straight and even lines the  1/4 inch seams, and the time it takes- OH my the hours and days and months and even sometime years ( I hear the ladies chatting at the quilting store of the many months and years they can put into one quilt I imagine my self rocking quietly in the corner dribbling slightly with a half done quilt at my feet after a week!)  I mean it does my head in. So what on earth was I thinking? I don' know to be honest, maybe it was the cute little picture on the pattern packet maybe it was the embroidered little red riding hood on the lovey linen pillow on the top of the quilt in the photo. The pattern "Poppet" by the lady from http://www.averyfinehouse09.blogspot.com/ (sorry can't remember her name right now) And so it begins one fine Thursday morning during my local shops regular sit and sew with my faithful sewing girlfriend at my side...

And oh no, I don't just want to make the pattern exact, pfft no way! I want a BIG one for my daughters bed a 210 x210cm. Ooh another great idea to use the vintage sheets and other collected scraps 38 different colours in all. At no point at all did my little inner voice of common sense scream out "NOOOOOOO"
I hadn't really used a rotary cutter before or a one of those big see through ruler thingies (which I happen to now own-  they are unreal to use) Cutting out hundreds of tiny squares and rectangles, cutting and cutting and more cutting stop briefly to count 60, 70, 90... ARE WE THERE YET? I'm over this cutting already only 300 and something to go- UGGGHHH!

So after 2 days of working away at cutting out and piecing a 'random' pattern together  I have learned that there is no such thing as 'random' in quilting. To make it look really random and spaced out you really have to deliberately place pieces in a certain order. So here it is so far...


8 rows of 17 laid out ready for pinning.

and the first two rows sewn together.


Friday, October 7, 2011

Dying to share with you...

A RAINBOW OF COLOUR
We are now at the end of our school holidays here and boy am I going to miss not having to rush around in the morning and be out the door by 8am. I needed to have a break from the sewing so Miss 15 and I decided to have a play with the dye I have had sitting in he cupboard. I overcame the chance of a major dye disaster and bit the bullet! Methodically and carefully we dug out every single large coffee jar we had laying around the house, measured out exactly 1 litre and 1 Tbs salt in each and every single one of them.
We also thought that it would be a great idea to have a few samples of every colour in varying intensity...so over the next 4 hours this id the beautiful rainbow of sample colours we have created along with a few custom mixes, with each and every formula being recorded with a hope that we might be able to recreate it for a future Myrtle & Grace collection... I did say I HOPE!
I use syringes to measure out the dye to the exact millilitre just because the dye looked amazing in them all grouped together I though I wold take a photo of that too!

Friday, September 16, 2011

A Sneek Peek @ Party Preparations

One Week To Go!
We have been VERY busy here with new spring/ summer dress style on their way and party preparations in full swing! Here is a little bit of a sneek peek at some of the labels we have been making here at Myrtle & Grace H.Q (aka the kitchen table) The Gorgeous sabby, vintage themed graphics were sourced from http://www.shabbyblogsblog.blogspot.com/   and are just perfect for our Spring Garden, Vintage, Shabby Themed Party. Shabbyblogspot have a tuck load of free images to download, your imagination is your only limit with what you can do with them!I've also added some of my scrapbook stash into the mix. The papers I have used are Emma's Fabric Shoppe from Crete Paper.
 Looking good so far...
 Name place cards for the table
 Little nectar bottles reused with new labels. Old fashioned Vintage Paper straws have been sourced from Cake Bake Shoppe, 30 Main Road Ballarat and from Twiggi- www.twiggi.com.au
 Some little labels for the cakes and biscuits.
The full little nectar bottles re labelled to co ordinate with our theme. I can't beleive there is only a week before the party! This week will be very very busy finishing the vintage fabric swags, buying food, and finishing the birthday cake.